How to do a basic Bathroom Deep Cleaning Safety Check and Quick Fixes
Want this done properly without the hassle?
Aap DIY try kar sakte hain, lekin agar time nahi ya confidence kam ho, to professional bula lena better hota hai. Galat step se damage ya safety issue ho sakta hai.
Quick answer (read this first)
- Perform routine visual inspections for plumbing leaks, mold, and electrical concerns.
- Prioritize safety: always use protective gear and ensure ventilation during any cleaning or repair tasks.
- Address minor issues like loose fixtures or slow drains immediately to prevent larger, costlier damage.
Safety first
- Always wear rubber gloves and protective eyewear.
- Ensure adequate ventilation by opening windows or using an exhaust fan.
- Never mix cleaning chemicals, especially bleach and ammonia, as this creates toxic fumes.
- Keep all electrical outlets and cords dry and away from water sources.
- For any inspection beyond visual observation of electrical fixtures, always turn off the main power at the circuit breaker.
Tools you may need
- Rubber gloves
- Protective eyewear
- All-purpose bathroom cleaner
- Bleach (optional, for tough stains)
- Vinegar and baking soda (natural alternatives)
- Scrub brush and sponges
- Microfiber cloths
- Plunger
- Screwdriver (for loose fixtures)
- Small mirror (for hard-to-see areas)
- Torch/flashlight
Step-by-step
Step 1
Prepare Your Workspace Safely: Clear all toiletries, towels, and removable items. Ensure good ventilation by opening windows or turning on the exhaust fan, and wear your protective gear.
Step 2
Conduct a Structural and Mold Inspection: Examine walls, ceiling, and floor for cracks, water stains, or peeling paint. Use a flashlight to check dark corners for early signs of mold growth.
Step 3
Inspect Plumbing for Leaks and Functionality: Look under sinks and around the toilet base for any signs of leaks, drips, or rust. Test all faucets, showerheads, and flush the toilet to ensure proper water flow and drainage.
Step 4
Perform a Visual Electrical Safety Check: Visually inspect light fixtures, switches, and power outlets for any loose covers, exposed wires, or signs of water damage. Remember: only visual checks; do not touch or attempt to fix anything electrical.
Step 5
Address Minor Plumbing & Fixture Quick Fixes: Tighten any loose screws on cabinet handles, toilet seats, or minor faucet parts. For slow drains, attempt to clear simple clogs using a plunger or a baking soda and vinegar solution.
Step 6
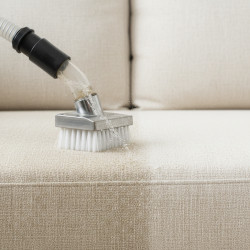
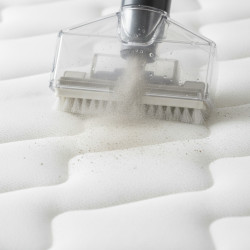
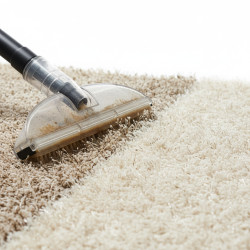
Tackle Initial Mold and Mildew Spots: For small, surface-level mold or mildew, clean with an appropriate bathroom cleaner and a scrub brush, ensuring the area is well-ventilated during and after cleaning.
Step 7
Perform Basic Cleanup and Disinfection: Wipe down all surfaces that were inspected or fixed, including sinks, counters, and toilet exteriors. Sanitize regularly touched areas like faucet handles and light switches.
Step 8
Final Check and Review: Take a moment to review all areas for any missed issues or newly created hazards. Ensure all tools are stored safely and the bathroom is left clean and dry.
Common mistakes
- Mixing incompatible cleaning chemicals (e.g., bleach and ammonia).
- Not ventilating the bathroom properly during cleaning or when using strong agents.
- Ignoring small leaks or minor issues, which can escalate into significant damage.
- Attempting complex electrical or plumbing repairs without proper knowledge or tools.
- Using abrasive cleaners on delicate surfaces, causing scratches or damage.
When to call a professional
- Persistent leaks that you cannot locate or stop, or major plumbing issues like burst pipes or blocked main drains.
- Any visible electrical hazards such as exposed wires, sparking outlets, non-functional fixtures, or burning smells.
- Extensive mold growth that covers large areas (more than 10 sq ft) or returns quickly after cleaning.
- Structural damage to walls, ceiling, or floor that compromises the integrity of your home.
- Water heater malfunctions, gas line issues, or any other problem involving gas appliances.
Want this done properly without the hassle?
Aap DIY try kar sakte hain, lekin agar time nahi ya confidence kam ho, to professional bula lena better hota hai. Galat step se damage ya safety issue ho sakta hai.