How to Troubleshoot Full House Move In Clean Issues

Want this done properly without the hassle?
Aap DIY try kar sakte hain, lekin agar time nahi ya confidence kam ho, to professional bula lena better hota hai. Galat step se damage ya safety issue ho sakta hai.
Quick answer (read this first)
- Perform a detailed post-clean inspection of all rooms.
- Identify and re-clean missed areas, including hidden spots.
- Target specific lingering problems like streaks, dust, or stains.
- Utilize correct tools and cleaners for effective spot remediation.
Safety first
- Wear gloves to protect hands from chemicals.
- Ensure good ventilation when using cleaning products.
- Always read product labels for safe usage instructions.
- Keep children and pets away from cleaning areas and solutions.
- Avoid mixing different cleaning chemicals to prevent dangerous reactions.
Tools you may need
- Microfiber cloths
- All-purpose cleaner
- Vacuum cleaner
- Mop and bucket
- Scrub brush
- Glass cleaner
- Dusting spray
- Broom and dustpan
- Flashlight (for inspection)
Step-by-step
Step 1
Perform a Detailed Post-Clean Inspection: Systematically walk through every room, including closets, utility areas, and storage spaces. Look specifically for missed spots, streaks, residual dust, or any areas that don’t meet your cleanliness standards. Document any issues found.
Step 2
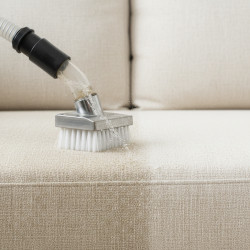
Examine Overlooked and High-Touch Surfaces: Pay close attention to areas commonly missed: inside cabinets and drawers, shelves, light fixtures, ceiling fans, baseboards, window sills, door frames, and door/window tracks. Also, check high-touch points like light switches, doorknobs, and handles for grime.
Step 3
Re-Assess Dusting and Cobweb Removal: Re-inspect all horizontal and vertical surfaces, corners, and ceilings for lingering dust or cobwebs. Use appropriate tools to re-dust or remove any remaining webs, ensuring surfaces are truly clean.
Step 4
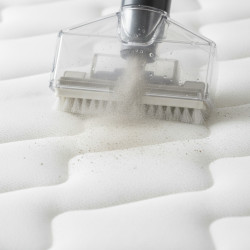
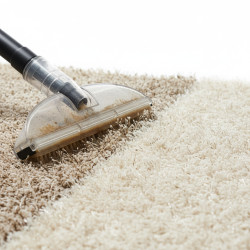
Target Floor and Carpet Imperfections: Scrutinize hard floors for streaks, sticky residues, or trapped dirt in corners. On carpets, look for vacuuming lines, forgotten debris, or faint stains. Spot clean hard floors and re-vacuum carpets as necessary.
Step 5
Address Streaks and Smudges on Glass: Check all windows, mirrors, and glass surfaces for any streaks, smudges, or fingerprints. Re-clean with a proper glass cleaner and microfiber cloth for a crystal-clear finish.
Step 6
Verify Kitchen & Bathroom Sanitation: In the kitchen, inspect countertops, sinks, faucets, and appliance exteriors for cleanliness and disinfection. In bathrooms, check toilets, showers, tubs, sinks, and fixtures for any overlooked dirt, soap scum, or watermarks.
Step 7
Final Debris & Spot Removal: Ensure all small pieces of debris, packaging, or construction residue have been completely removed. Do a final sweep for any isolated spots or marks on walls and floors, addressing them promptly.
Common mistakes
- Not inspecting all areas thoroughly after the initial clean.
- Using incorrect cleaning products for specific surfaces, causing damage or ineffective cleaning.
- Forgetting to check inside cabinets, drawers, and other hidden storage spaces.
- Not allowing cleaning solutions enough dwell time to break down dirt and grime.
- Overlooking high-reach areas such as ceiling fans, top of cabinets, and crown molding.
When to call a professional
- You discover deep-set stains that resist all your cleaning efforts.
- There is evidence of mold or mildew requiring specialized removal techniques.
- You find extensive post-construction debris or hazardous waste that needs professional handling.
- You lack the time, specialized tools, or expertise for a thorough re-clean.
- Pest infestations are discovered during your post-clean inspection.
Want this done properly without the hassle?
Aap DIY try kar sakte hain, lekin agar time nahi ya confidence kam ho, to professional bula lena better hota hai. Galat step se damage ya safety issue ho sakta hai.