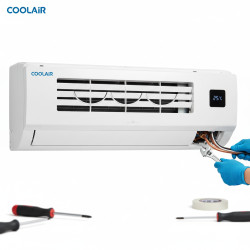
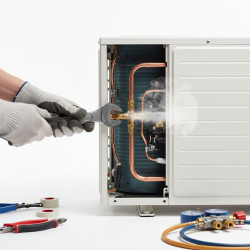
How to Troubleshoot Inverter AC PCB Card Issues at Home
Want this done properly without the hassle?
Aap DIY try kar sakte hain, lekin agar time nahi ya confidence kam ho, to professional bula lena better hota hai. Galat step se damage ya safety issue ho sakta hai.
Starting from
Rs. 4500
Quick answer (read this first)
- Verify power supply and secure all electrical connections.
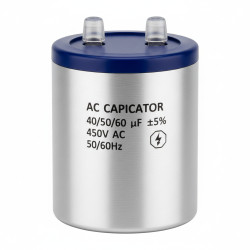
- Perform a visual inspection for burnt marks, swollen capacitors, or loose wiring on the PCB.
- Locate and interpret any error codes displayed on your inverter unit.
- Attempt a soft or hard reset of the inverter as per its manual.
- Ensure the inverter unit has adequate ventilation.
Safety first
- Crucially, always disconnect the main power supply to the inverter and confirm power is off with a multimeter before touching any components.
- Never touch live wires or internal components with bare hands; lethal electric shock is a severe risk.
- Use only insulated tools suitable for electrical work.
- Work in a dry, well-lit environment to prevent accidents and ensure visibility.
- Static electricity can damage sensitive PCB components; discharge yourself by touching a grounded metal object first.
- If you are unsure at any point, lack the right tools, or feel uncomfortable, stop immediately and call a qualified professional.
Tools you may need
- Multimeter
- Screwdriver set
- Flashlight
- Insulated gloves
- Cleaning brush/compressed air
Step-by-step
Step 1
- Safely Disconnect Power: Locate the main circuit breaker for your inverter AC unit and switch it OFF. Unplug the inverter from its power source if accessible. Crucially, use a multimeter to confirm zero voltage across the power terminals before proceeding.
Step 2
- Open the Inverter Casing: Using your screwdriver set, carefully open the inverter’s outer casing. Note how components are placed before removal.
Step 3
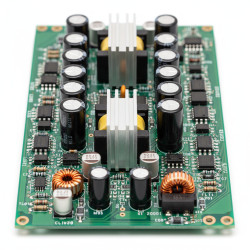
- Perform a Detailed Visual Inspection: With a flashlight, thoroughly examine the PCB card. Look for any signs of physical damage such as: burnt spots, discolored areas, swollen or leaking capacitors, loose solder joints, or corroded traces. Also check for any loose wires or detached connectors.
Step 4
- Verify All Connections: Gently check that all ribbon cables, wire harnesses, and terminal connections to and from the PCB are seated firmly. If any appear loose, carefully re-seat them without excessive force.
Step 5
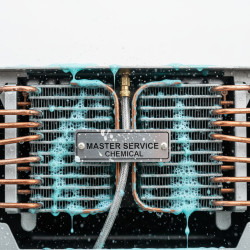
- Clean the PCB Card: Use a soft, anti-static brush or compressed air to carefully remove any accumulated dust, dirt, or debris from the PCB surface. Excessive dust can lead to overheating or short circuits.
Step 6
- Check for Error Codes (If Applicable): Before reassembling, if your inverter has a display, check for any error codes that might have been stored or are currently showing. Refer to your inverter’s manual to understand what these codes signify.
Step 7
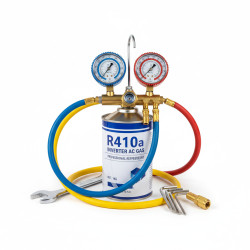
- (Optional) Basic Voltage Test: Only if you are fully confident and trained with a multimeter: Reconnect power temporarily (briefly) and use a multimeter to test for expected voltage readings at specific test points on the PCB, as indicated in your inverter’s service manual. Immediately disconnect power after this test.
Step 8
- Reassemble and Reset: Carefully close the inverter casing, ensuring all screws are tightened. Reconnect the main power supply. Then, perform a soft or hard reset of your inverter unit according to the instructions in its user manual. This can often clear minor glitches.
Step 9
- Monitor and Observe: After resetting, turn on the inverter and carefully monitor its operation. Listen for unusual noises, observe any display messages, and check if the unit functions correctly. If issues persist, refer to the ‘When to Call a Pro’ section.
Common mistakes
- Failing to confirm power disconnection, leading to severe electric shock risk.
- Touching sensitive electronic components with bare hands, which can cause damage due to static electricity.
- Attempting to force connections or components, potentially causing irreparable physical damage.
- Ignoring the inverter’s user manual or specific error codes, which provide crucial diagnostic information.
- Proceeding with troubleshooting if you lack confidence, the right tools, or a clear understanding of the steps.
When to call a professional
- You observe obvious signs of severe damage like extensive burning, melting, or strong electrical smells.
- The inverter displays persistent error codes that don’t clear after a reset and manual consultation.
- The unit shows no signs of power despite confirmed electricity supply.
- You are uncomfortable, unsure, or lack the specialized tools and expertise to proceed safely with any step.
- The basic troubleshooting steps outlined here do not resolve the issue.
- Any repairs requiring soldering, component replacement, or deep circuit diagnostics.
Want this done properly without the hassle?
Aap DIY try kar sakte hain, lekin agar time nahi ya confidence kam ho, to professional bula lena better hota hai. Galat step se damage ya safety issue ho sakta hai.
Starting from
Rs. 4500
100% Money Back Guarantee
If you are not satisfied with the service